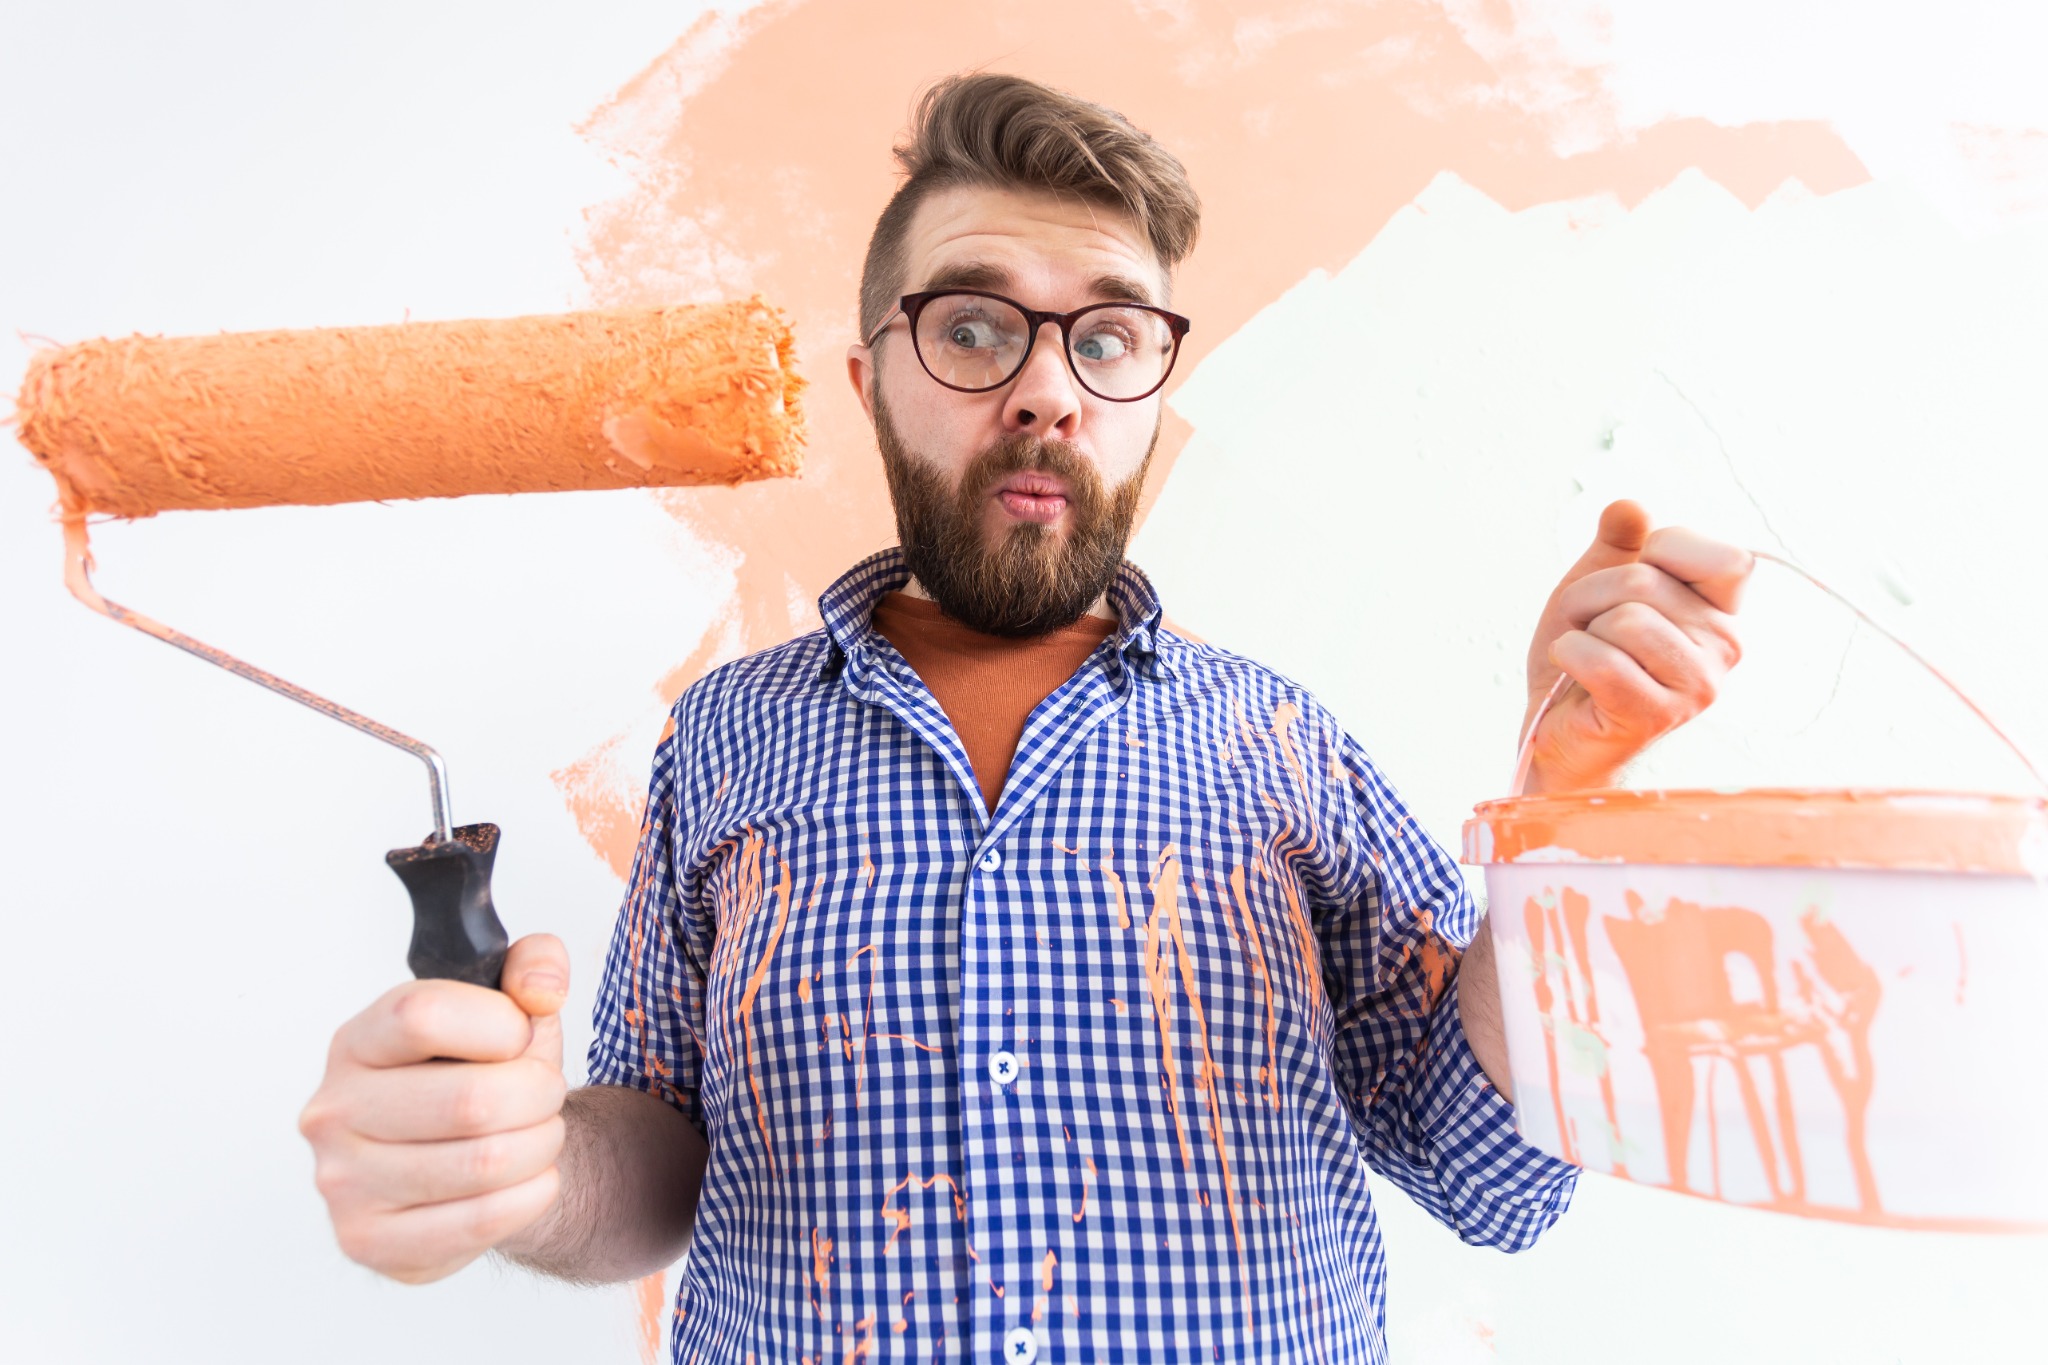
It’s nearly impossible to name a project that changes your home’s look more quickly and affordably than a new paint job. Fresh paint is one of the most impactful things you can do to update the look and feel of a house. But that doesn’t mean it’s easy. With this guide to interior painting, you’ll get some expert tips and tricks to help.
And if you’d rather skip all the tips and simply hire a professional painter, we have you (and your walls) covered. Bella Vista provides the highest-quality service and products to customers throughout Vancouver, WA, and Portland, OR. For interior or exterior painting, connect with us today to get a free estimate and schedule your project.
Painting My Walls…How Hard Can It Be?
Getting an excellent result from your painting efforts isn’t complicated, but it is demanding. Everything from the brushes you choose to the temperature and humidity outside can impact an interior painting project.
Although a DIY paint job is fairly inexpensive, you still don’t want to waste your money, time, or energy on something that doesn’t turn out as expected. So here is our professional guide to interior painting to point you in the right direction.
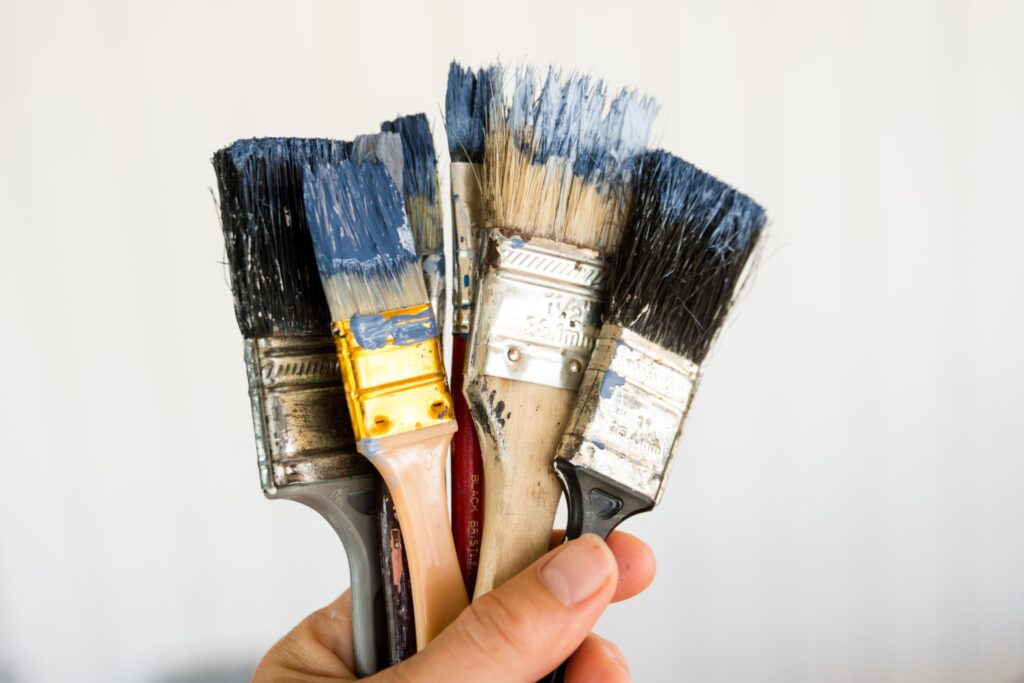
1. Invest in Tools and Products.
No, you do not need every painting gadget the hardware store sells. But you do need some key items to help you get the best results possible. At a minimum, be sure to have the following items ready to go:
- The best brushes and rollers you can afford – This is one piece of the painting puzzle where higher-dollar items are worth it.
- The right brushes and rollers for the job – Different materials and wall textures require different tools.
- Enough rollers and brushes – If you are using two or more colors, be sure to have enough supplies to accommodate them. It’s no fun to be ready to start with a new color only to realize the roller is full of a different one.
- High-quality paint – By spending more on your product, you will likely use less of it overall and will achieve a longer-lasting, better-looking finish.
- Painter’s tape
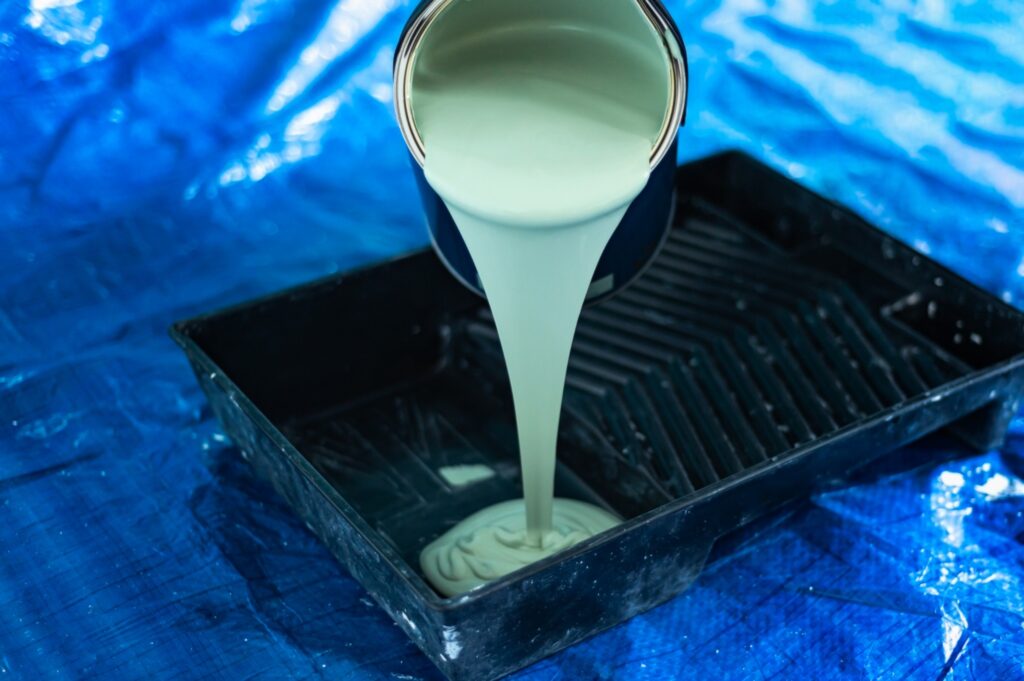
- Paint trays and liners
- Drop cloths
2. Clear the Room
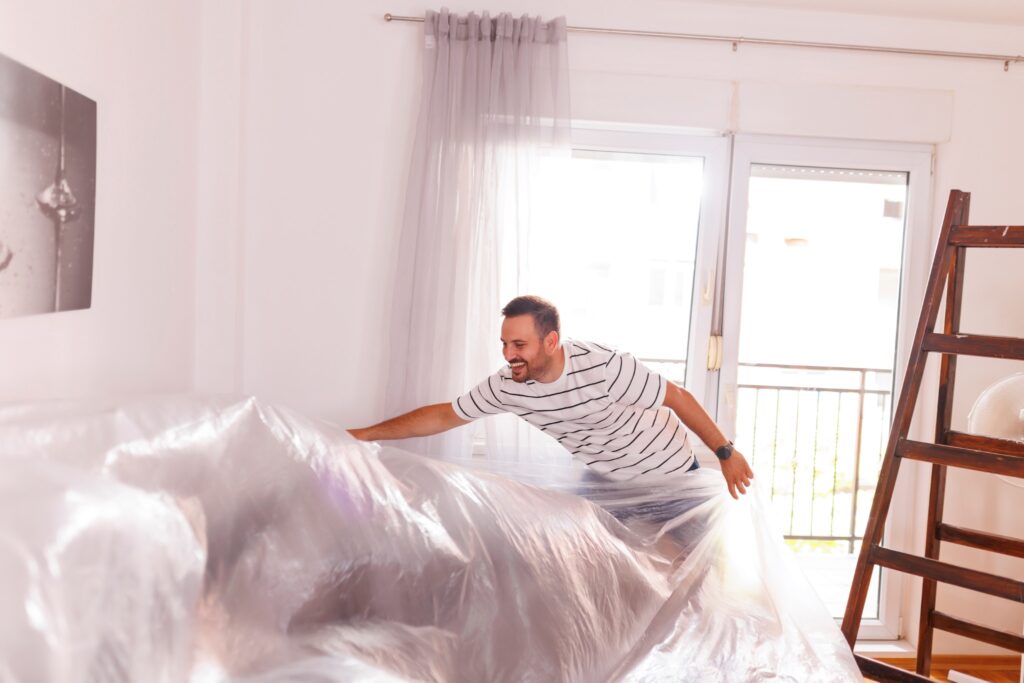
Spills and drips WILL happen in any painting project, professional or not. Be sure to cover your floors carefully and thoroughly. Ideally, you will also move things out of the room to avoid any possibility of damage. But at the very least, push everything to the center of the space and cover it with good quality drop cloths to protect it.
3. Fill Those Holes, No Matter How Small
Most homeowners, ourselves included, have no idea how many tiny holes we’ve put in our walls until we go to paint them. Although it’s time-consuming, filling all those holes with spackle is crucial to getting a great finish.
Scrubbing any surfaces you’ll be painting is also important to ensure a good result. Again, you’ll probably be surprised by the amount of dirt on your walls! Who knew that so much could cling to vertical surfaces?
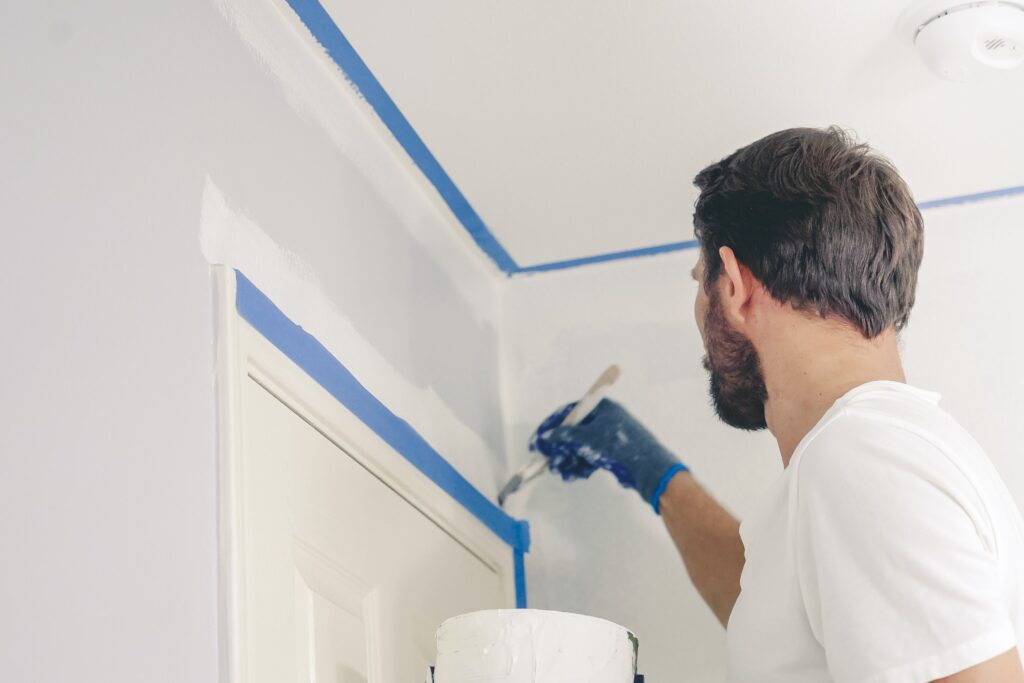
4. Tape Where Needed
Taping might be the least favorite part of painting for most homeowners, but it is a critical step in this guide to interior painting. Unless you have a remarkably steady hand, you should tape to help you get crisp edges between colors and to protect your woodwork.
5. Practice a Few Techniques
As you prepare to tackle your walls and ceilings, some techniques will make the job easier.
- Cutting in – Be sure to use an angled brush to help you get corners and edges that are crisp and don’t bleed into areas they shouldn’t.
- W or M – When using a roller, avoid going straight up and down. Instead, move the roller in a W or M pattern as you fill in the space. Lighter pressure is best with a fully loaded roller. Gradually increase the pressure as you make more passes over the wall or ceiling before getting more paint.
- Keep a wet edge – For best results and seamless blending, try to keep a wet edge throughout the project. That is, don’t let one section dry before you begin the area next to it. By maintaining a wet edge, you will get much better results.
6. Determine if You Need Primer
Most paint projects require a coat of primer if it isn’t built into your paint. And some require it even if primer is included in the paint! If you are repainting with the same color, you might be able to skip this step. But for almost any other situation, expect to use primer.
7. Plan on Several Coats

Even paints that advertise only needing one coat will likely need two. That extra layer gives more depth and much fuller coverage so that you have a beautiful result that will last longer. Using several coats gives you more time before you have to paint again. For brand new unpainted walls, plan to need three coats.
8. Don’t Skip the Cleanup
After a big painting project, it’s really tempting to delay or skip the cleanup. After all, you’re probably tired and wondering why you wanted to do this in the first place instead of hiring a pro. But after investing in brushes, rollers, and other tools, it’s worth the time to take care of everything.
Assuming you used water-based paints, you can soak them in warm water for a bit and then rinse them under running water to get the paint out. Straighten the bristles and let them dry. If your brush has a cover, put it back on so the brush is ready to use next time.
You can rinse your rollers as well, but many people find they don’t hold their nap well for too many cleanings. Eventually, you will need to purchase new ones. If you don’t quite finish your painting project, you can wrap your roller in plastic wrap, paint and all, until you start again.
Or, Just Hire Us
This guide to interior painting wouldn’t be complete without reminding you that you can remove all of your work by hiring a professional crew to handle it for you. Our expert, highly-trained painters have all the tools and know-how needed to get your project done in no time. We work throughout Portland, OR, Vancouver, WA, and the surrounding areas. Contact us today for your estimate.