Tackling a DIY cabinet paint job can be a rewarding endeavor. It offers the chance to revamp a space within a smaller budget. However, as many of us have learned the hard way, not every project ends with a flawless finish. Let’s look at the likely reasons behind a failed DIY cabinet paint job and some ways you can avoid them in the future.
Many of you may get to this point and already think, “Never mind. I’d rather hire a professional painter.” If that’s you, you’re in the right place! Bella Vista is the premier painting company in Vancouver, WA, Portland, OR, and the surrounding areas. For exterior and interior paint jobs, including cabinets, connect with us today to get an estimate.
Top Reasons a DIY Cabinet Paint Job Goes Wrong
Although painting is one of the most user-friendly home improvement projects, that doesn’t mean it’s always simple. And cabinets, in particular, need a lot of attention and TLC to get a flawless paint job. Here are the primary reasons a cabinet painting project could end up with poor results.
1. Insufficient Preparation
One of the most common culprits behind a botched cabinet paint job is inadequate preparation. (Actually, this is the main reason for ANY poor paint job results.)
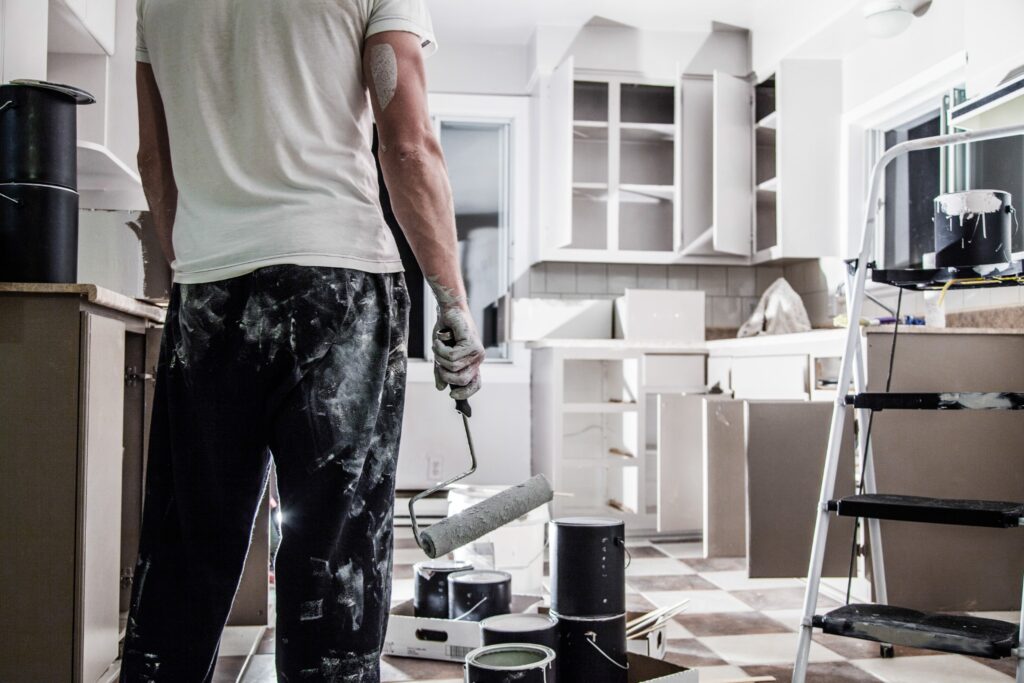
Rushing into the process without taking the time to properly clean, sand, and prime the surfaces can lead to a host of issues. Residual grease, grime, or old paint will prevent the new paint from adhering correctly. Unfilled holes or deep scratches will also impact how the paint adheres and covers. The likely result will be peeling paint and uneven coverage.
It’s critical to prioritize thorough cleaning and sanding to create a smooth, clean surface for the paint to adhere to during application. Address holes and scratches so that you have a good starting surface. Apply a high-quality primer to enhance adhesion and ensure a uniform finish. You really can’t be too careful with this step. It can make or break your project.
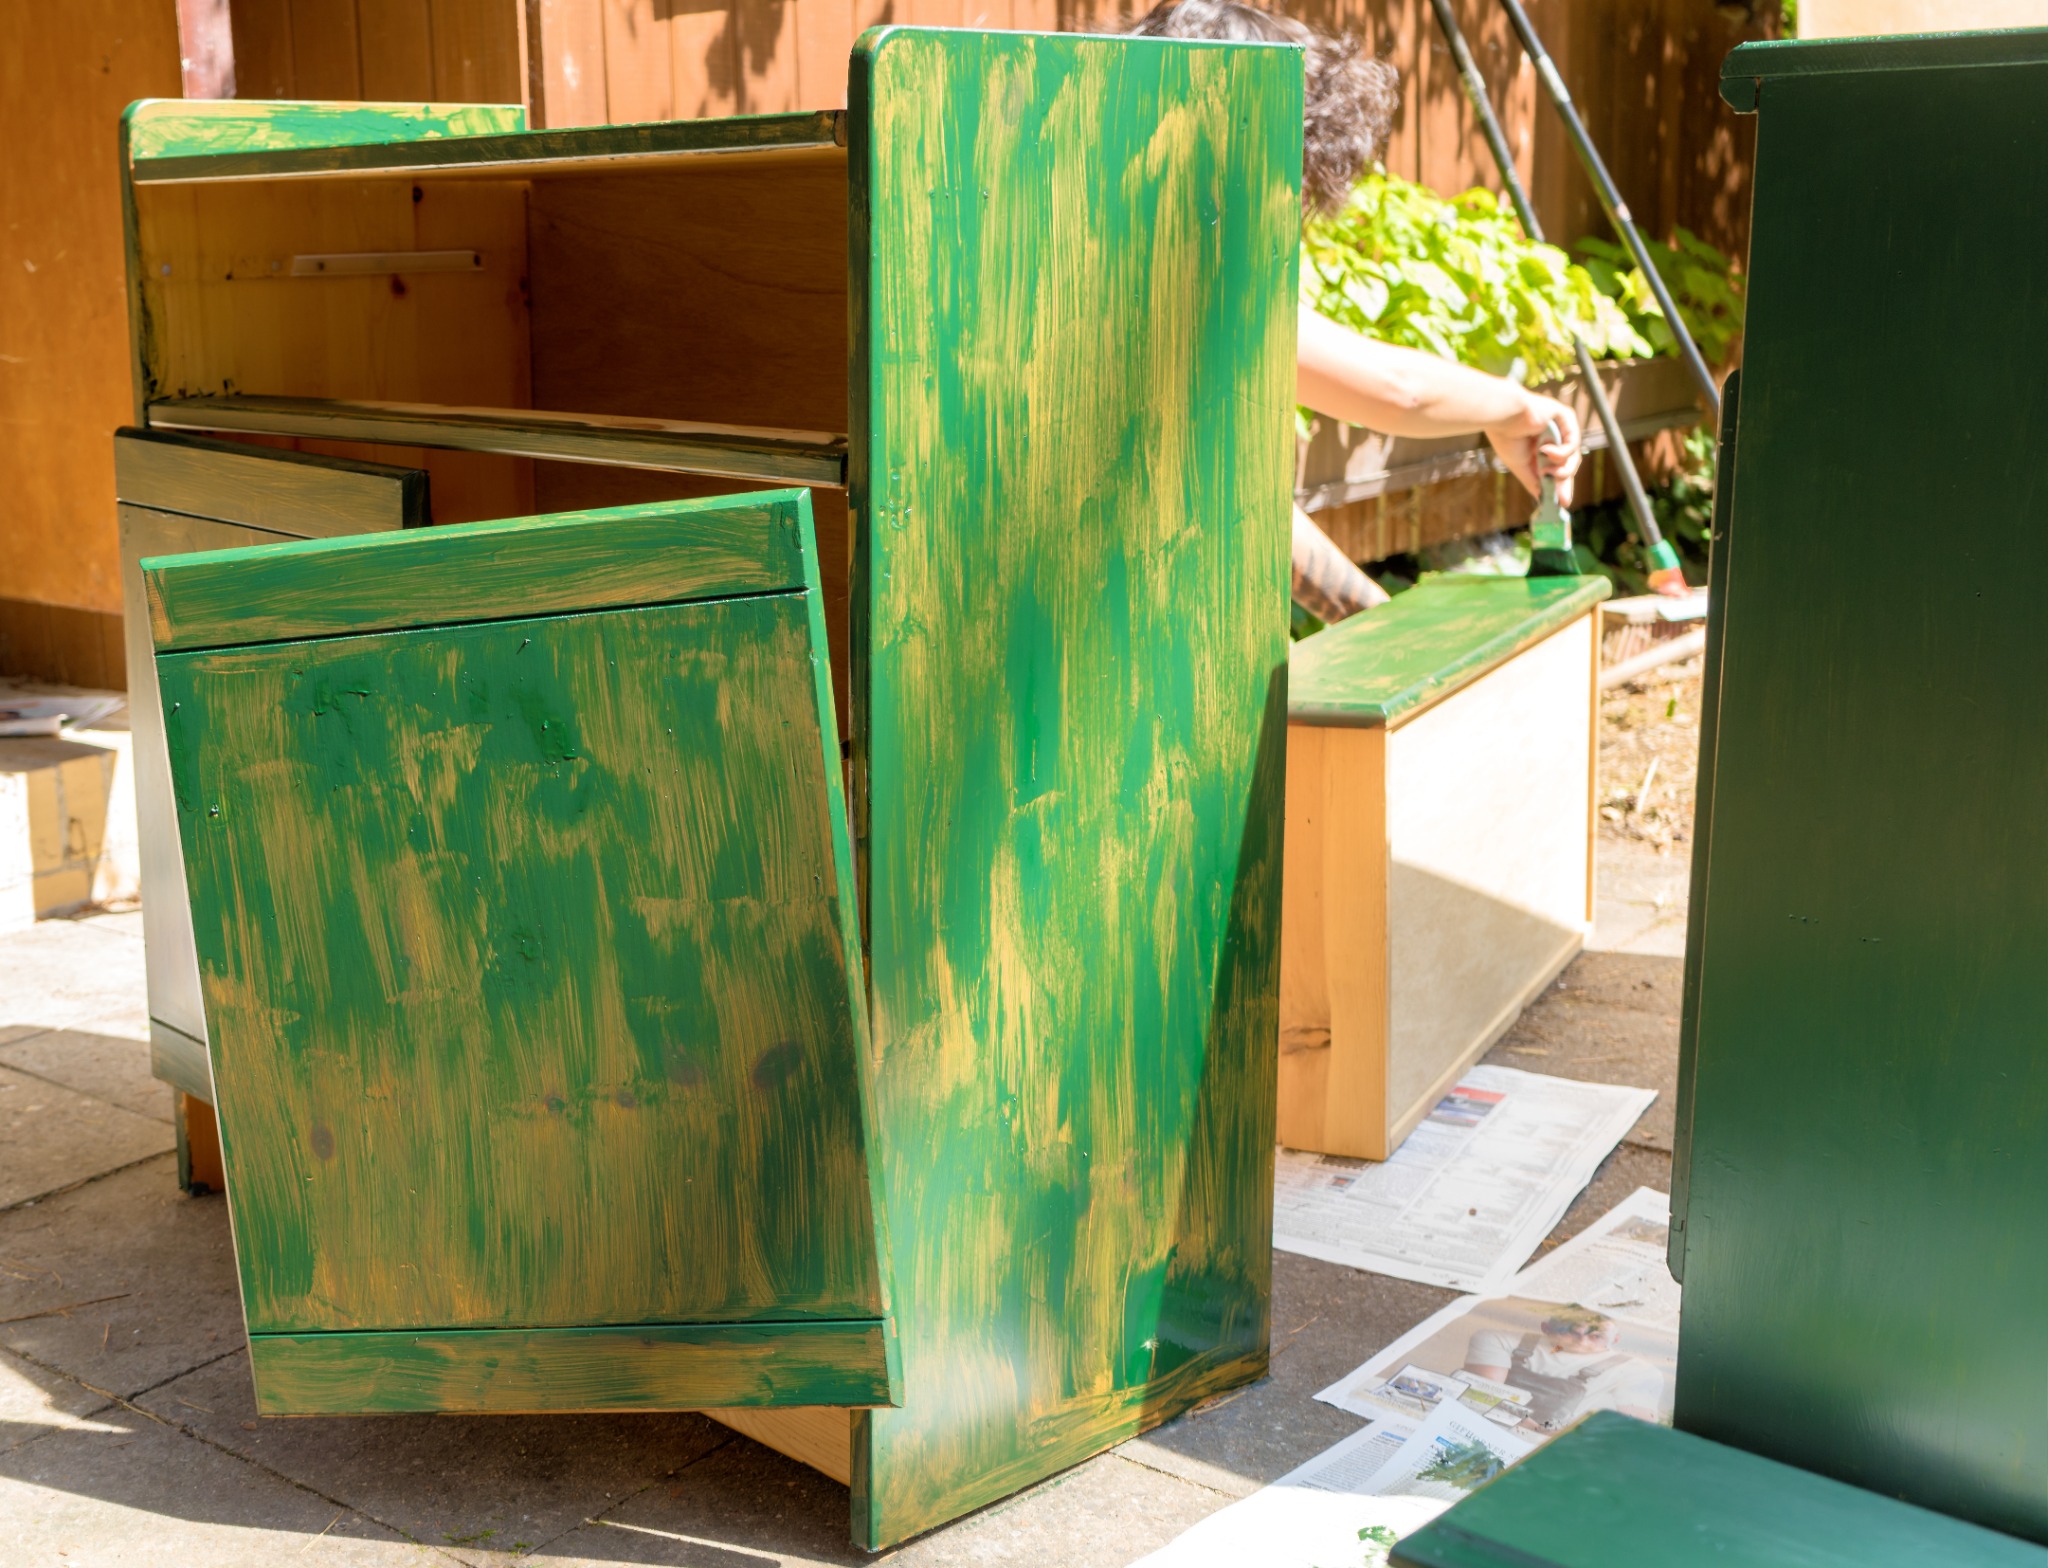
2. Inadequate Ventilation
Poor ventilation will sabotage even the most meticulously planned paint job. Without proper airflow, paint fumes linger, leading to slow drying times and potentially uneven application. Additionally, inadequate ventilation results in a build-up of moisture, compromising the integrity of the paint.
Ensure your workspace is well-ventilated by opening windows, using fans, and, if possible, working outdoors. These steps will help speed drying times and prevent issues associated with excess moisture.
3. Skipping Important Tools and Materials
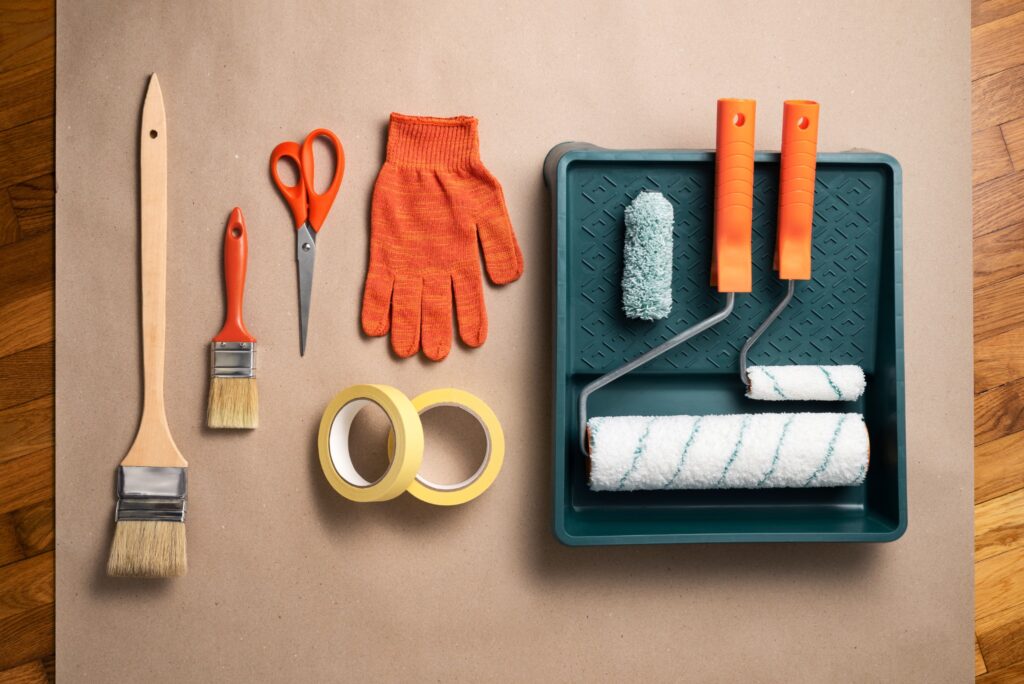
Purchasing paint tools and materials can require a significant amount of money. But cutting corners on these items will definitely mess up the outcome of your DIY project. Subpar brushes, rollers, or paint will lead to streaks, uneven coverage, and a lackluster finish that will leave you mourning all the time you put into this project.
As with any paint project, it’s worth the investment to get the best tools and materials possible. Purchase high-quality brushes, rollers, and paint that are suitable for cabinets. Quality materials and tools will help you come closer to achieving a professional-looking finish.
And don’t forget other cabinet painting project necessities such as drop cloths, sawhorses, painter’s tape, and tools for removing and replacing the hardware.
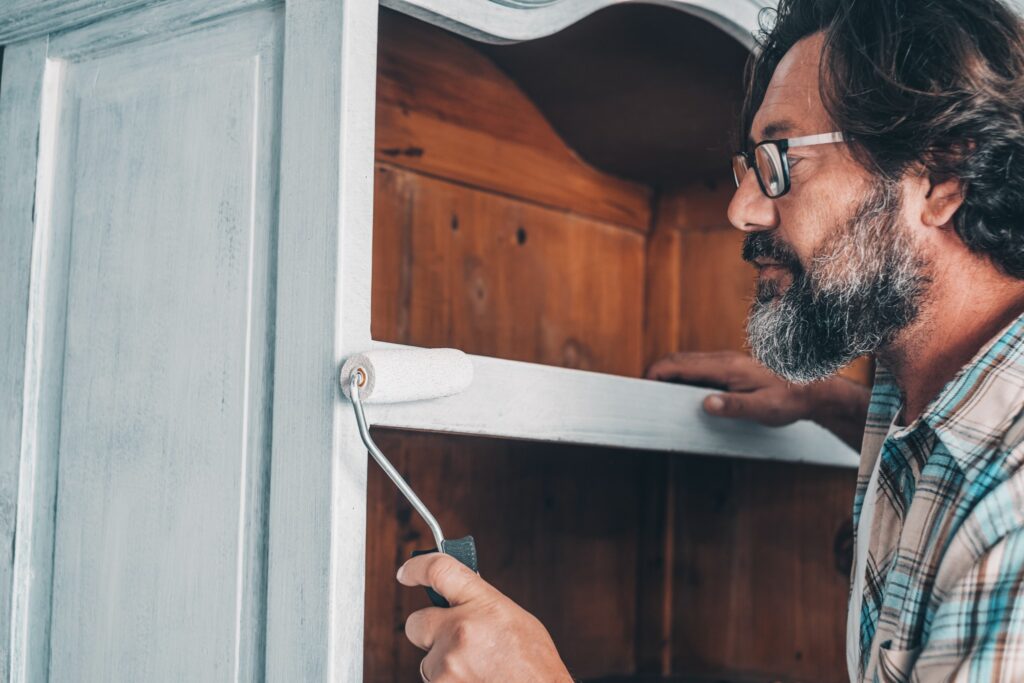
4. Neglecting Proper Technique
Cabinets are not as forgiving as walls. Without the right technique, it’s nearly impossible to get a result that you want to look at every day. Rushing through the application process, neglecting to maintain a consistent stroke, or failing to allow sufficient drying time will all contribute to a less-than-desirable finish.
Take the time to learn and follow best practices for painting cabinets. Apply thin, even coats and allow each layer to dry completely before proceeding. Maintain consistent pressure while painting to ensure a smooth finish.
And be sure to watch for dust and debris that may be falling where you work, especially if you are painting outdoors. There’s nothing worse than finding a random dog hair in your newly painted cabinet door.
5. Ignoring the Power of Primer
Primer is often an overlooked step in any painting project. However, it’s very important. In the cabinet painting process, primer serves a critical role in promoting adhesion and creating a smooth, uniform surface for the paint.
Be sure to use a high-quality primer designed for a cabinet paint job. This crucial step makes a significant difference in the longevity and appearance of your cabinet painting project.
Skip the Hassle – Hire a Professional
Straightforward or not, DIY cabinet painting projects can cause tremendous stress and frustration. They also can become quite costly when you have to invest in all the tools. And they are even costlier if you have to redo the project due to poor results.
For peace of mind and huge time savings, hiring a professional cabinet painter is the way to go. With their knowledge, expertise, and affordable access to high-end products, a professional contractor will have your space looking gorgeous in no time.
When you hire a pro, you no longer have to worry about anything but color selection. They will handle everything else:
- Prep work
- Tools and materials
- Application
- Re-installation
- Clean-up
DIY cabinet paint jobs take an average of 40 hours to complete. A project that might take you a month of Sundays to finish, will be done in a matter of days with a professional.
Bella Vista will be honored to beautify your home or business with any interior or exterior paint job, including cabinets. We have a highly-trained team of experienced painters ready to tackle your project. Contact us to get a bid and to find a date on our schedule for your project.